

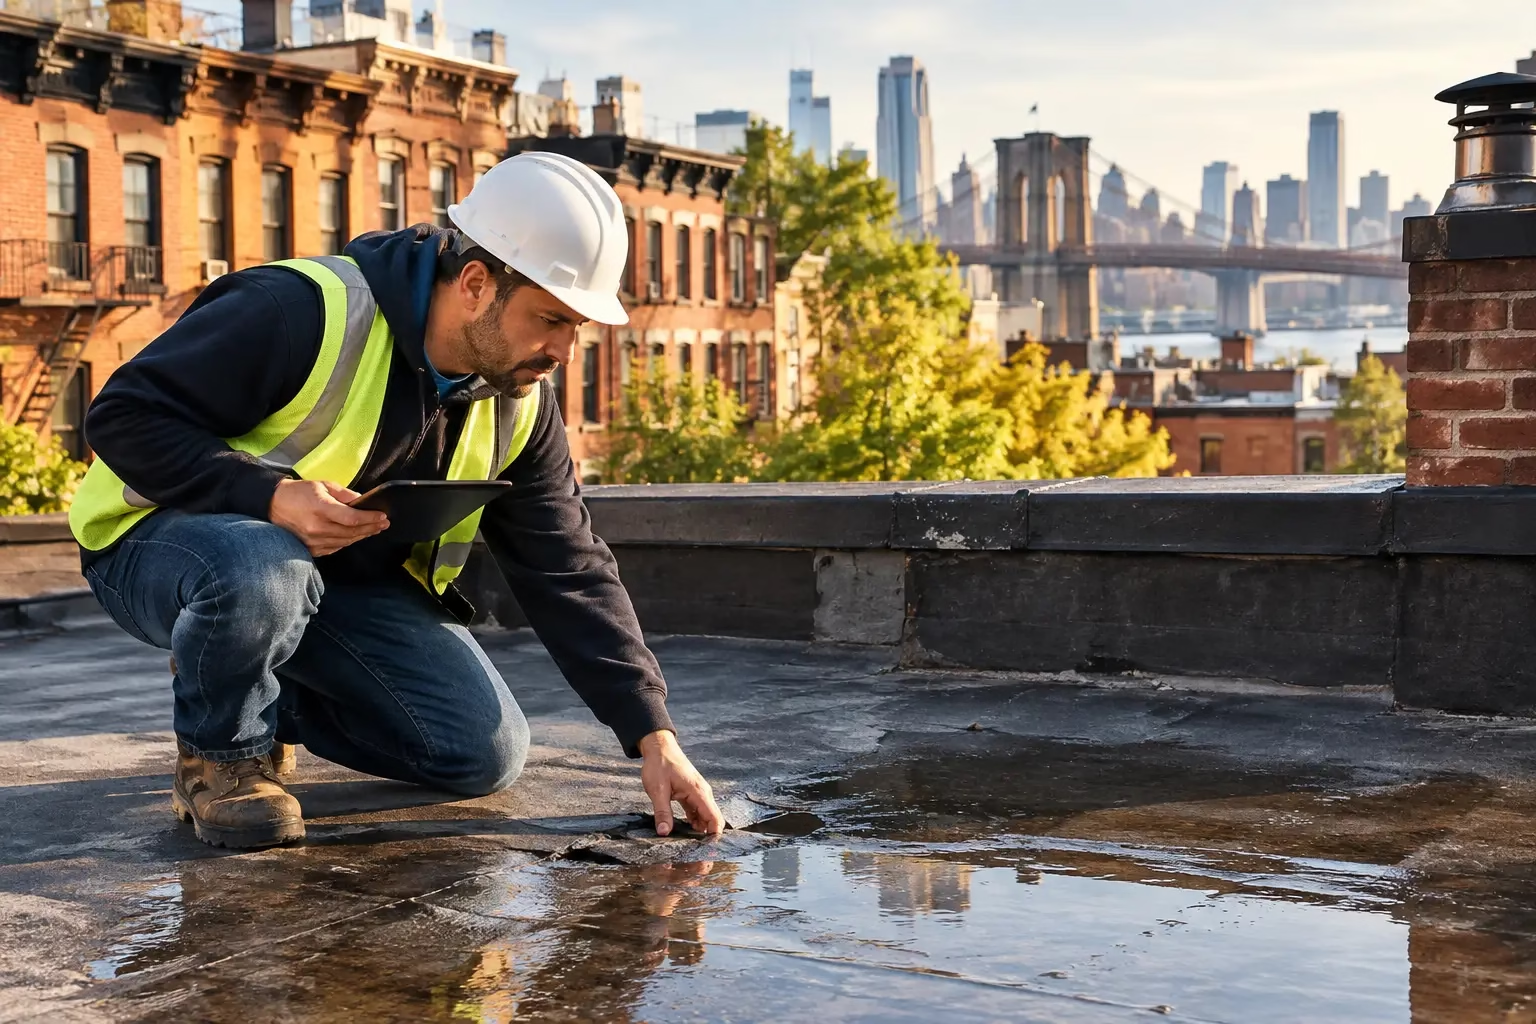
A waterproofing failure case study often starts with a homeowner pointing to the wrong place. In this Brooklyn garden-level property, the visible problem was a damp patch on the interior wall, peeling paint near the baseboard, and a musty smell after heavy rain. The first assumption was that water was pushing directly through the masonry at that spot. It was not.
The real issue was a combination of failed exterior transitions, poor water direction at the rear yard, and an old patch repair that trapped moisture in the wall instead of stopping it outside. That distinction matters. If a contractor only treats the stain, the building keeps getting wet. If the source is identified and the repair is sequenced correctly, the owner avoids repeat damage to plaster, framing, finishes, and tenant spaces.
Waterproofing Failure Case Study: The Leak Was Traveling
This representative case reflects a pattern we see in older Brooklyn brownstones and multifamily properties. The building had a partially below-grade rear wall, an aging masonry facade, and a yard surface that had been repaired more than once over the years. During a heavy rain, water collected along the wall and found its way into failed joints and an open transition where the yard met the foundation.
By the time the water appeared indoors, it had traveled. The stained interior wall was only the last stop.
The prior repair had focused on applying a coating to the interior masonry. That can reduce visible moisture for a period, but it does not solve water pressure or direct water away from the building. In some conditions, an interior coating can make diagnosis harder because moisture remains trapped in the masonry and looks for another path.
What the inspection showed
The inspection found several small failures working together rather than one dramatic hole. The rear yard pitched toward the building in a few areas. Cracked cement at the wall-to-yard joint allowed water into the transition. Missing or deteriorated mortar joints gave water more access once it pooled. An old surface patch had separated at the edges, creating a narrow channel behind it.
None of these conditions should be ignored just because each one looks minor. NYC masonry buildings are exposed to rain, snow, freeze-thaw cycles, and decades of movement. Water uses every available opening. A repair scope needs to account for the complete route of water, not just the location where damage becomes visible.
Why the First Waterproofing Repair Did Not Hold
Waterproofing is not one product and it is not one universal method. The right repair depends on where water originates, whether the wall is below grade, the condition of the masonry, access from the exterior, and how the property drains during a storm.
In this case, the first repair failed for three reasons. It addressed the interior symptom instead of the exterior water source. It did not correct the failed joint between the hardscape and foundation. It also left drainage conditions unchanged, so water continued to collect against the structure.
This is a common cost-saving mistake, especially when an owner is trying to prepare a rental unit quickly. A low upfront price is not affordable if the same leak returns after the next season. On the other hand, not every moisture issue requires a full excavation project. A dependable contractor should explain the least invasive repair that actually addresses the cause, then identify when more extensive work is necessary.
Building a Repair Scope That Fits the Cause
The repair plan for this property began outside. The crew removed failed patch material and opened the affected transition so the condition behind it could be inspected. Loose mortar was cut out, joints were properly prepared, and deteriorated areas were repaired before new waterproofing materials were installed.
The work also required correcting how water moved across the rear yard. A waterproofed wall can still be overwhelmed if runoff repeatedly sits against it. Where practical, the surface was adjusted to direct water away from the building, and the vulnerable wall-to-yard connection was rebuilt as a continuous, properly sealed detail.
Exterior work comes first when access allows
For below-grade or partially below-grade walls, exterior waterproofing is generally the stronger long-term approach because it stops water before it enters the masonry assembly. Depending on site conditions, that may include excavation, wall preparation, waterproofing membrane application, protection materials, drainage components, and careful backfill.
Exterior access is not always simple in New York City. A narrow side passage, adjoining property, existing patios, planted yards, utilities, or sidewalk conditions can change the scope. That is why an on-site review matters. A contractor should not promise a one-size-fits-all system without checking the building and the surrounding grade.
Masonry repair is part of waterproofing
Waterproofing work on an older building often overlaps with brick pointing, cement repair, stucco restoration, and facade maintenance. Open mortar joints and failed coping details are not cosmetic concerns when they admit water. Repairs must use materials and methods appropriate for the masonry so the wall can manage moisture as intended.
For historic brownstones in areas such as Park Slope, Brooklyn Heights, and Bed-Stuy, appearance also matters. A patch that stops water but leaves mismatched masonry or damaged architectural details is not a complete result. The repair should protect the building while respecting the exterior finish.
Best Budget Construction in Brooklyn & NYC: What a Proper Scope Includes
A clear waterproofing estimate should identify the problem area, likely source of water, recommended repair method, related masonry or drainage work, and any conditions that could affect price once surfaces are opened. Owners deserve straight answers before work begins, especially when the affected area is a finished basement, a tenant apartment, or a commercial space.
Best Budget Construction approaches waterproofing as part of the whole building. If the issue involves roof runoff, cracked cement, damaged brick joints, deteriorated stucco, or a failed sidewalk or yard transition, those conditions need to be considered together. Coordinating repair under one experienced contractor helps prevent the gaps that occur when separate trades each handle only one piece of the problem.
License & Insurance credentials for all services
Waterproofing can involve excavation, masonry removal, ladders, confined work areas, occupied homes, and active commercial properties. Hiring based only on the lowest number can expose an owner to poor workmanship, incomplete protection, and liability concerns.
Ask for a written scope, confirm that the contractor is licensed and insured, and make sure the crew understands the specific building condition. Good waterproofing work is often hidden once complete. Trust comes from preparation, documentation, clean jobsite practices, and a contractor willing to explain why each repair step is being performed.
100% OSHA guidelines compliant Work Protects the Jobsite
Safety is not separate from quality. Proper access, fall protection, dust control, material handling, and site protection help keep workers, residents, pedestrians, and neighboring properties safe. This is particularly important on Brooklyn streets where a restoration or waterproofing project may be close to sidewalks, rear yards, shared driveways, or occupied units.
A controlled jobsite also protects the repair itself. Fresh masonry work, membranes, and sealants need correct preparation and curing conditions. Rushing through wet surfaces or skipping protection steps can compromise the result before the project is even finished.
What Property Owners Should Watch for Before Damage Spreads
Do not wait for standing water indoors to take action. Early signs include bubbling paint, flaking plaster near exterior walls, white mineral deposits on masonry, damp odors after rain, soft or stained baseboards, cracked exterior cement, and pooling water next to the foundation.
Keep in mind that a leak can come from above as well as below. Roof drainage, clogged leaders, damaged flashing, facade cracks, and failed window details can send water down through a wall and make a basement issue look like a foundation problem. A thorough inspection follows the water path before recommending repairs.
Free Estimate Call (917) 674-9488
If rainwater is entering your basement, damaging interior finishes, or collecting against your masonry, address it before the next storm turns a manageable repair into a larger restoration project. The right fix begins with an honest site evaluation, a clear scope, and work performed with care. A dry wall is the goal, but protecting the building behind it is what makes the repair worth doing.
