

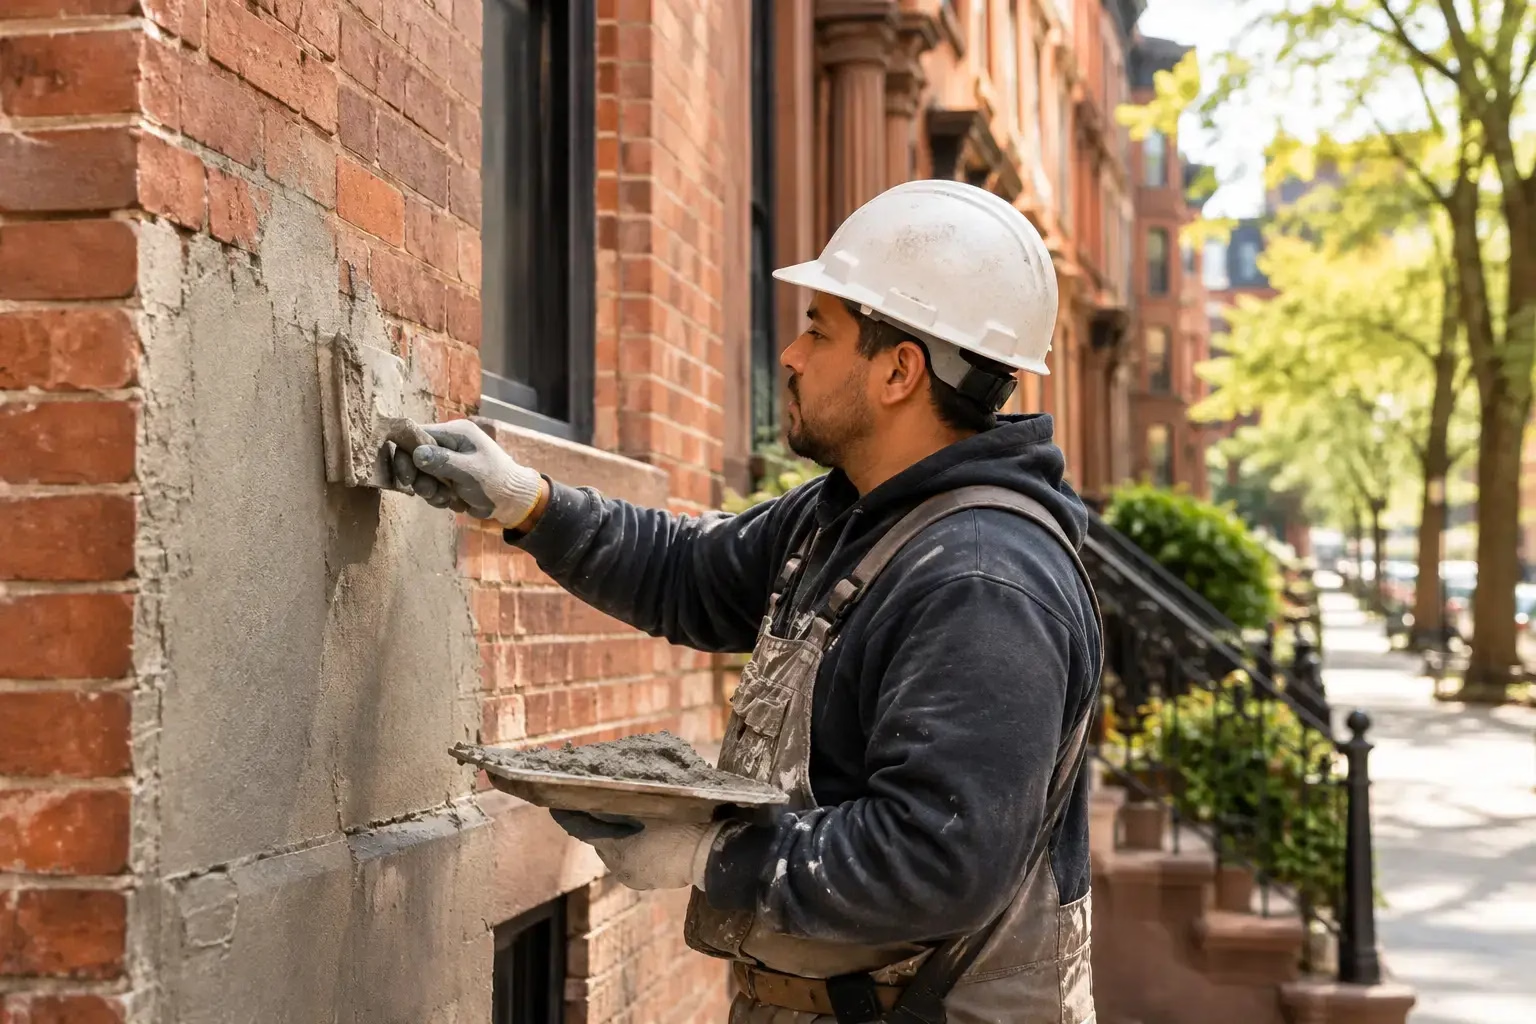
A Thorocoat Bed-Stuy rear wall project is rarely just about making an old brick wall look cleaner. Rear elevations take years of hard weather, roof runoff, trapped moisture, neglected pointing, and limited access. By the time peeling coating, stained masonry, or interior damp spots show up, the wall may need more than a new finish.
For Brooklyn property owners, the right approach starts with identifying what is failing underneath. A coating can protect a properly prepared masonry wall, but it cannot permanently cover loose mortar, open cracks, failing flashing, or water entering from a roofline. Repair the cause first, then apply the system that fits the wall.
Thorocoat Bed-Stuy Rear Wall Repair: What the Wall Is Telling You
Bed-Stuy has a large number of attached brick homes, brownstones, multifamily buildings, and rear additions. Their rear walls often receive less routine maintenance than the front facade. They are also harder to inspect from the ground, especially when neighboring buildings, fences, decks, or extensions limit access.
Common warning signs include bubbling or peeling paint, white powdery deposits on brick, cracked stucco, dark water tracks below a parapet, crumbling mortar joints, and damp plaster inside the top-floor rooms. These conditions can overlap. A wall may have a surface-coating problem, but the coating may be failing because the coping stones, roof flashing, gutters, or brick joints have already allowed water behind it.
Thorocoat is commonly used as a protective, textured exterior coating on masonry and stucco surfaces. When selected and installed correctly, it can provide a uniform finish while helping protect a sound wall from wind-driven rain. The key word is sound. The surface must be stable, clean, dry enough for the specified application, and repaired before coating begins.
Why Rear Walls Fail So Often in Brooklyn
Rear walls are exposed to a different set of problems than street-facing facades. The front may be restored because it is visible and subject to landmark or curb-appeal concerns, while the rear is patched only after a leak appears. That deferred maintenance can turn a manageable pointing job into a larger waterproofing and masonry repair.
Water usually follows the easiest path, not the obvious one. It can enter through worn roof flashing, a deteriorated parapet, open joints around a bulkhead, missing mortar, cracked window lintels, or failed sealant at pipes and conduits. Once moisture gets behind old paint or a non-breathable coating, it may push the finish off from within.
A proper site review looks above, across, and below the damaged area. We inspect the roof edge, parapet condition, scuppers, leaders, flashing transitions, wall cracks, masonry joints, window perimeters, and any adjoining structure. This avoids the expensive mistake of coating a wall that will continue receiving water from above.
When Thorocoat Makes Sense and When It Does Not
Thorocoat can be a practical finish for a rear elevation when the masonry substrate has been stabilized. It is often a good choice for owners who want a clean, consistent appearance without the cost of rebuilding an entire wall solely for cosmetic reasons. It can also work well over properly repaired stucco or compatible masonry surfaces where patchwork would otherwise remain visible.
However, coating is not the answer for every wall. If brick faces are badly spalled, mortar joints are deeply deteriorated, the wall is moving, or there is ongoing water intrusion, masonry repair comes first. Applying a coating over compromised brick may hide the damage temporarily while moisture continues working behind the finish.
The best decision depends on the wall’s condition and the owner’s goals. A rental building owner may need durable protection and a presentable finish on a controlled budget. A brownstone owner planning a long-term restoration may prefer targeted brick replacement, lime-compatible pointing, and a finish strategy that preserves more original masonry. Both approaches can be responsible when based on an honest inspection.
The Right Repair Sequence for a Rear Wall
A dependable rear-wall project follows a sequence, not a quick paint-over. First, the wall must be accessed safely by scaffold, pipe scaffold, lift, or another appropriate method. The existing coating and loose material are then evaluated and removed where necessary. Any unsound masonry, cracked cement, failed pointing, or loose stucco is repaired before a coating system is considered.
Next comes water management. Roof-edge details, flashing, coping, leader connections, window seals, and penetrations need attention if they are contributing to the problem. There is little value in restoring the wall face while water is still running behind it every time it rains.
After repairs cure and the surface is properly prepared, the selected Thorocoat system can be applied according to product requirements and site conditions. Preparation matters as much as the final coats. Dust, chalking, loose paint, contamination, and poor adhesion can shorten the life of an otherwise good product.
The final step is a practical inspection. We look for consistent coverage, sound transitions around windows and pipes, sealed details where appropriate, and clean drainage paths at the roofline. A rear wall should not only look finished. It should be set up to handle the next heavy Brooklyn rainstorm.
Best Budget Construction in Brooklyn & NYC
Best Budget Construction handles rear-wall repair as a building-envelope job, not simply a painting job. That means coordinating masonry work, brick pointing, stucco and cement repairs, waterproofing details, roofing corrections, and professional exterior coating under one accountable contractor.
For a Bed-Stuy property, this approach can save time and reduce finger-pointing between separate trades. If a roofer, mason, painter, and waterproofing company each treat only one small portion of the wall, the owner is left to determine where the actual failure began. A single experienced team can assess the full condition, explain the priority repairs, and provide a straightforward scope of work.
Cost-conscious work does not mean cutting corners on preparation. It means recommending repairs that address the problem without pushing unnecessary replacement. Some walls need full coating removal and broad masonry restoration. Others need localized pointing, roof-edge correction, surface preparation, and a new protective finish. The inspection determines the scope.
License & Insurance credentials for all services
Exterior work on attached Brooklyn properties requires planning, protection, and accountability. License & Insurance credentials for all services give owners and managers confidence that the contractor is prepared to work responsibly around occupied homes, neighboring buildings, sidewalks, and shared access areas.
Before work begins, the project should have a clear scope covering access, surface repairs, coating preparation, cleanup, and any required protection for windows, landscaping, patios, or rear yards. Property managers should also consider tenant communication, work hours, and safe access when the rear elevation is near occupied spaces.
100% OSHA guidelines compliant
Scaffold and elevated work are not places for shortcuts. A 100% OSHA guidelines compliant work process means the crew uses appropriate fall protection, site controls, access methods, and daily safety practices for the work being performed. This matters especially at tight Bed-Stuy rear yards, where space is limited and adjacent structures are close.
Safe access also improves quality. When workers can reach the full wall correctly, they can remove failed material, repair joints, prepare edges, and apply coatings evenly. Rushed work from ladders where scaffold access is needed often leaves weak spots that show up after the first few seasons.
What to Ask Before Approving a Thorocoat Project
Before selecting a contractor, ask what is causing the existing finish to fail. A clear answer should address the masonry condition and likely water source, not only the color or texture of the replacement coating. You should also ask whether damaged pointing, cracks, roof flashing, window perimeters, and parapet details are included in the proposed scope.
It is also smart to ask how the wall will be accessed, what loose materials will be removed, and how the surface will be prepared before coating. A low price that excludes preparation can become costly when the new finish begins peeling early. Written estimates should separate necessary repairs from optional cosmetic upgrades so you can make a practical decision.
Free Estimate Call (917) 674-9488
If your rear wall has peeling coating, open masonry joints, water stains, or recurring leaks, do not wait for another season to make the damage more expensive. A site inspection can determine whether your wall needs Thorocoat application, brick pointing, stucco repair, waterproofing corrections, roofing work, or a combination of these services.
Free Estimate Call (917) 674-9488 to discuss your Bed-Stuy rear wall. The most useful repair plan is the one that fixes the water path, protects the structure, and gives you a finish that holds up without paying for work your building does not need.
