

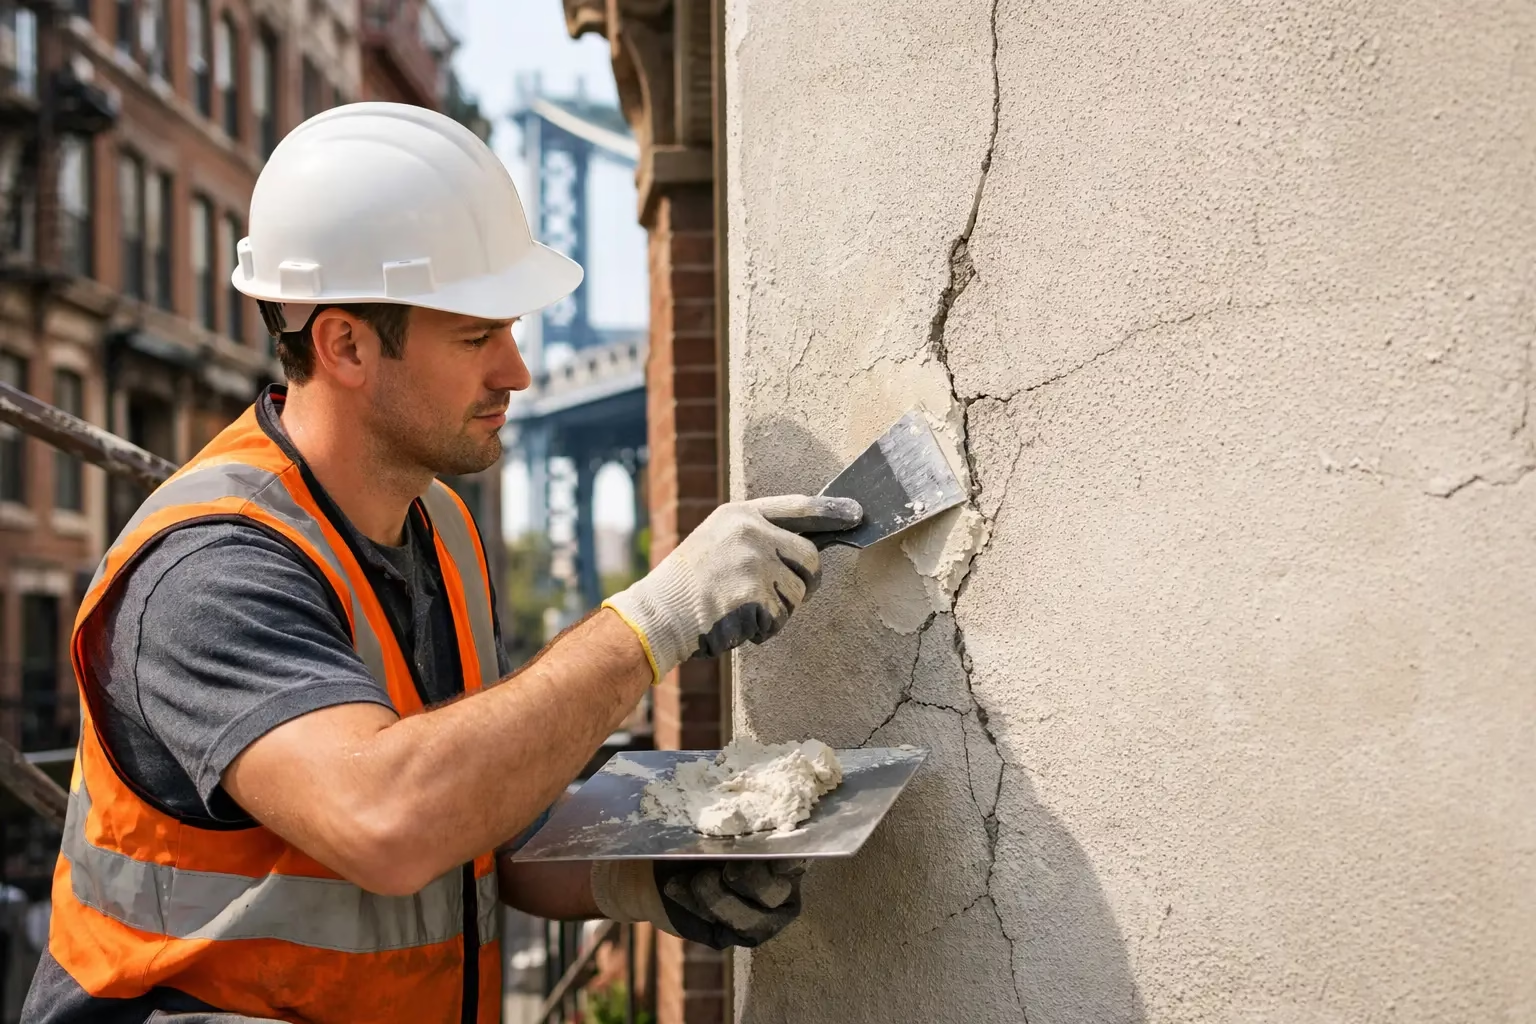
A hairline crack across a stucco wall can be a simple finish repair, or it can be the first visible sign that water is getting behind the facade. Knowing how to repair cracked stucco starts with identifying which one you have. For Brooklyn brownstones, townhouses, multifamily buildings, and commercial properties, the wrong repair can trap moisture, fail through the next freeze-thaw season, and leave a larger bill later.
Stucco is not just a cosmetic outer layer. It is part of a wall system that must shed water while allowing the assembly to dry. A proper repair matches the existing material, addresses the cause of the crack, and blends with the surrounding surface. Caulking over every crack may look like a fast fix, but it is rarely a lasting one on an older NYC facade.
Start by Finding Out Why the Stucco Cracked
Before mixing repair material, look closely at the crack and the area around it. Fine, shallow cracks are commonly caused by normal drying shrinkage, minor seasonal movement, or aging paint. They may be limited to the finish coat and can often be repaired without removing large sections of stucco.
Wider cracks, stair-step cracking near masonry, cracks that return after repair, or areas that sound hollow when tapped deserve more attention. These conditions can point to movement in the wall, failing lath, loose stucco coats, water infiltration, or deterioration behind the surface. Cracks around windows, rooflines, parapets, cornices, and pipe penetrations are especially important because these are common locations for water entry.
On a building with a historic facade, do not assume every textured wall is modern cement stucco. Older brownstones may have lime-based or specialty coatings that need compatible repair materials. Using a hard Portland cement patch on a softer historic wall can create a new failure point. The patch may hold while the surrounding material cracks or spalls.
Signs a Crack Is More Than a Surface Problem
A professional inspection is the safer choice when the crack is wider than about one-eighth inch, runs vertically for a long distance, crosses multiple facade materials, or is accompanied by staining, bulging, crumbling, or interior dampness. Rust stains can indicate corroding metal lath or embedded steel. White powdery deposits, known as efflorescence, often mean moisture has been moving through the wall.
If stucco is loose overhead or falling near a sidewalk, entrance, or neighboring property, keep people clear of the area. NYC facade work can involve safety, sidewalk protection, permits, and access requirements that go beyond a typical home repair. This is not the time for a ladder, a patch bucket, and guesswork.
How to Repair Cracked Stucco for Small, Stable Cracks
For a small crack that is dry, stable, and clearly limited to the surface finish, a careful repair can extend the life of the wall. Work only in mild, dry weather. Repair products need proper curing time, and freezing temperatures, direct summer sun, or rain can weaken the bond.
Begin by removing loose paint, dust, and crumbling material with a stiff brush or scraper. Open the crack slightly into a shallow V-shape using a crack chaser, masonry blade, or cold chisel. This may seem backward, but a narrow surface-only opening gives patch material very little area to grip. Do not cut deeply enough to damage lath, waterproofing, or the underlying masonry.
Vacuum or brush out all debris, then lightly dampen the repair area. Stucco should be damp, not dripping wet. If a dry wall pulls water out of the patch too quickly, the material can cure poorly and separate from the edges.
Apply a compatible exterior stucco patch or repair mortar in thin layers, pressing it firmly into the prepared crack. Deep openings should be filled in lifts rather than packed with one thick application. Allow each layer to firm up according to the product directions. For a textured facade, use a sponge, brush, trowel, or texture tool to match the existing finish before the final coat sets.
After the patch cures, apply a breathable exterior coating when the full wall is ready for painting. Avoid treating paint as waterproofing. A quality coating helps protect the surface, but it will not solve a leak at flashing, a failed window joint, an open parapet coping, or a damaged roof edge.
When Caulk Is Appropriate and When It Is Not
Flexible exterior sealant has a role, but it is not a replacement for stucco repair. It is often appropriate at movement joints and where different materials meet, such as a window frame against stucco, a metal flashing edge, or a properly designed control joint. Use a high-quality exterior sealant suited to the joint and follow the manufacturer’s requirements for backer rod and joint depth.
Caulk is generally a poor choice for cracks in the middle of a broad stucco field. It can leave a visible shiny line, collect dirt, and fail to match the texture of the wall. More importantly, filling a moisture-related crack with sealant without fixing the source can send water elsewhere in the assembly.
Repairing Large Cracks, Loose Areas, and Missing Stucco
When the damaged area is loose, hollow, or missing, the repair usually requires more than filling a crack. The unsound stucco must be removed back to solid material. The contractor then evaluates the substrate. On framed walls, damaged metal lath, paper-backed lath, or water-resistive barrier may need replacement. On masonry walls, failed mortar, open joints, or deteriorated backing must be repaired before new stucco goes on.
A durable patch is built in coats, not simply spread over the opening. Depending on the system, this can include a bonding layer, a scratch coat, a brown coat to bring the surface level, and a finish coat that matches the existing texture. Each coat needs proper thickness and curing time. Rushing the process is one of the main reasons a patch cracks around its edges.
Color matching can also be difficult. Even when the same finish material is used, age, weather exposure, and old paint can make a new patch stand out. On a prominent street-facing facade, the best result may require blending a larger section or repainting the full elevation after repairs are complete.
Stop Water Before It Reaches the Stucco
A cracked stucco repair lasts only as long as the wall stays protected from recurring water intrusion. Check the conditions above and around the damaged area. Roof leaks, defective flashing, open coping joints, clogged gutters, deteriorated window sealant, and damaged cornices can all send water into the facade.
For NYC properties, water may also enter through failed brick pointing, masonry cracks, roof parapets, or connections between neighboring buildings. That is why exterior repair should be viewed as a system. A stucco patch may be necessary, but the real repair could also include waterproofing, brick pointing, roof work, masonry restoration, or replacement of failed flashing.
Do not rely on power washing to solve staining or peeling around a crack. High-pressure water can drive moisture into weak stucco and remove already fragile surface material. Clean gently and only after the source of the problem has been corrected.
Why Professional Stucco Repair Often Saves Money
DIY repair makes sense for a small, accessible cosmetic crack when the wall is sound and dry. The trade-off is that it can be hard to judge hidden damage from ground level. A patch that looks good for several months may still fail if water is working behind it.
Larger facade repairs require safe access, proper material selection, and an experienced eye for the cause of the damage. This is particularly true on aging Brooklyn buildings, where a visible crack can connect to long-term moisture issues, deteriorated masonry, or historic exterior details. Licensed and insured contractors also provide the protection property owners need when work involves scaffolding, sidewalks, occupied buildings, or exterior elevations.
Best Budget Construction handles stucco, masonry, waterproofing, facade restoration, cornice work, and exterior painting as connected services. That means the repair plan can address the crack and the condition that caused it, rather than sending you to coordinate several separate trades.
If a cracked area is growing, showing stains, or shedding material, do not wait for the next heavy rain or winter freeze. A clear on-site assessment and a detailed estimate can turn a small facade concern into a controlled repair before it becomes a larger restoration project.
